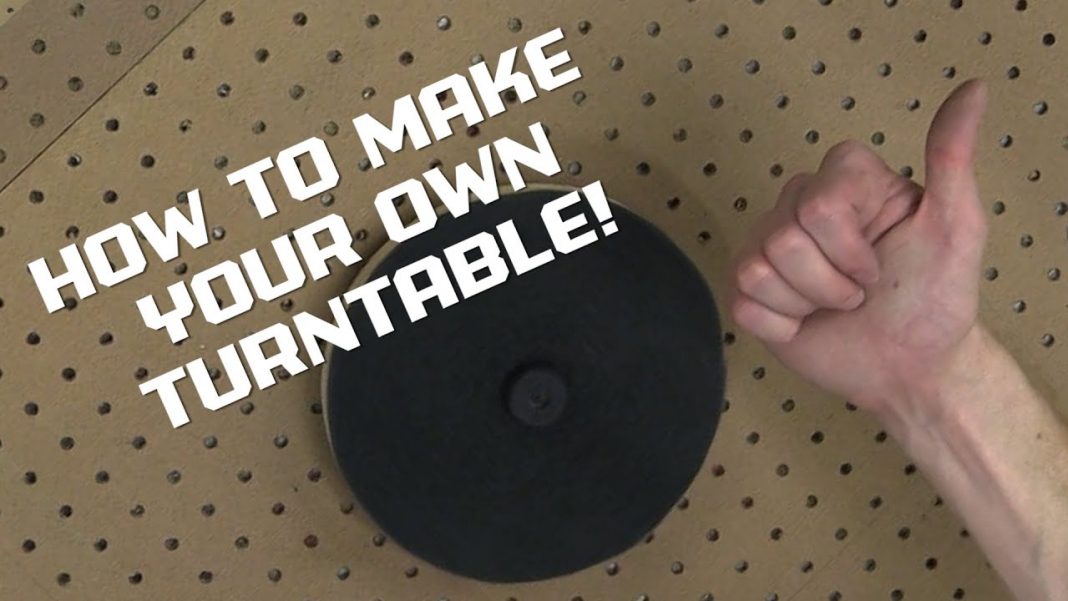
If you want to rebuild subwoofers, you’ll need a recone turntable. Here’s how to build your own!
MATERIALS:
- Round piece of wood – You can use leftover woofer cutouts from your enclosures! We recommend using MDF or plywood that’s about 8” in diameter and ¾” thick
- Short Low Profile Screws – Fastens the lazy Susan to the wooden base
- Rubber feet bumpers – Used to centers the subwoofer on the turntable. Choose a size that will fit in the back of your motor (http://sndqbd.com/2)
- Box carpet, EVA craft foam, Craft Felt, or a Sheet of cork
- Craft foam – 6 mm craft foam (http://sndqbd.com/3)
- 3 Pack of Lazy Susans – 2, 3, 4 inch (http://sndqbd.com/4)
- 6-Inch Lazy Susan – 3, 4, 6, & 12 inch available (http://sndqbd.com/5)
- Weather Stripping, craft foam, or pieces of an old sub surround – This will go under the lazy Susan to keep it from slipping around.
TOOLS:
- Drill or Screwdriver
- Saw or Router
- Woodworking Square
- Measuring Tape
- Sandpaper
- Pencil
- Utility Knife (or razor blade)
INSTRUCTIONS:
If you’re using an uncut piece of wood or MDF you’ll first need to square the edges. Once your material is squared, you’ll be able to accurately mark the center, and measure for cuts.
If you’re using a recycled piece of wood from an enclosure cut out that already has a center pin hole, you might not need a few of these steps.
We’re going to cut out an 8-inch diameter circle. To make that easier, start with about a 10-inch square. Once your square is cut out, use a square to mark straight lines 5 inches from each edge. These lines should pass directly through the center of the board.
Take half the width of your lazy Susan and draw straight, square lines on either side of your center lines. Next, place the lazy Susan where I drew the guide lines to make sure it matches up. Also mark where to drill pilot holes for the screws that will fasten the lazy Susan to your board.
Making your measurements and guide lines before you cut your circle is much easier with straight cut edges as opposed to measuring from the edge of a circle.
Drill a hole through your center mark. If you’re going to cut out a circle with a router, drill a hole that is the same size as your router’s guide pin. If you’re going to use a jigsaw, you’ll need this hole in a later step. You can also drill pilot holes for your turntable screws as well.
Using a long, thinner scrap piece of wood (about the size and shape of a 12-inch rule), a nail, and a pencil you’ll next make a makeshift compass. You can also use a real compass if you have one left over from geometry class. Measure halfway across the width of your wood and draw a line. Now draw a line perpendicular to the last. This is where your nail will go. Measure 1 ½” down the line and mark it. This is where your pencil will go. Drill a hole for your nail, and a hole for your pencil.
Insert the nail into the board. Place the nail end into the center hole of the turntable and insert your pencil into the other end. Trace a circle around your wooden plank. Next, cut out the circle using a jigsaw or router.
Once the circle is cut out, smooth out the edges with sand paper. Using the pilot holes you drilled in a previous step, mount the lazy susan to the wooden platform.
Now turn the turntable upside down. Cut out little squares from a scrap of subwoofer surround (or other rubber material) and glue them to the bottom side of the lazy Susan. This will prevent the turntable from sliding around your work surface.
Flip the turn table back over. Now we’re going to coat the top with a padded surface to protect our motor from scratches. Get your glue ready, start spinning the turntable and apply some glue. Keep spinning it and spread the glue around to cover the surface area. You may also use contact adhesive if you like.
Next, place your chosen material onto the glued platform. Once the glue dries, trim away any excess material from the edges.
Finally, mount a rubber foot in the middle of the turntable so the tapered side points upward. This will help center the subwoofer on the turntable. It’s important to use a rubber foot that will fit into the back vent of your motor.


